Category: Intune and Entra

How to Configure RDP when Remotely Connecting to an Entra‑Enrolled Device (Windows 10/11)

How to Configure RDP when Remotely Connecting to an Entra‑Enrolled Device (Windows 10/11)

📌 Overview

These steps describe how to configure Remote Desktop (RDP) to successfully connect to a Microsoft Entra ID (Azure AD) joined device over VPN or office network. This includes editing the .rdp connection file and optionally editing the Windows hosts file on the VPN client to resolve NetBIOS or FQDN names more reliably.

Heavily based on these three articles and built from ticket #2571

Especially useful for Santiam Water Control District staff.

https://learn.microsoft.com/en-us/windows/client-management/client-tools/connect-to-remote-aadj-pc

https://rublon.com/blog/how-to-rdp-into-azure-ad-joined-vm

https://www.howtogeek.com/27350/beginner-geek-how-to-edit-your-hosts-file


✅ Requirements & Prerequisites

  • Remote device: Windows 10 version 1809 or later, or Windows 11 (with Oct‑2022 cumulative update or newer) joined to Microsoft Entra ID. (Microsoft LearnMicrosoft Learn)
  • Local client device: Running Windows 10 or 11. It can be Entra joined, hybrid joined, registered, or even part of a different AD domain. (Microsoft Learn)
  • Ensure the remote device (host) is configured to allow RDP: under Settings → System → Remote Desktop, “Allow Remote Desktop connections” is enabled. (Microsoft Learn)
  • If enabling Azure AD authentication, the remote device doesn’t need Network Level Authentication enforced; indeed disabling NLA may be required for this use case. (Microsoft Learn)

🛠 Step 1 – Edit the .rdp file

  1. On your local client, launch Remote Desktop Connection (mstsc.exe), enter the hostname (NOT the IP Address, often fails in this setup) of the remote device, expand Show Options, and click Save As… to store a .rdp file locally. (Stack Overflow)
  2. Open the saved .rdp file using a text editor like Notepad.
  3. Update the full address:s: field to use the NetBIOS hostname or FQDN, not the IP address. Example:full address:s:Desktop‑Manager (Replaces earlier s: \\192.168.1.119 usage.) (ronamosa.io)
    Your internal ticket notes confirm that Azure AD–joined devices cannot be reached by IP if using Azure AD authentication—they require name resolution.
    enablecredsspsupport:i:0 authentication level:i:2 This disables CredSSP and sets a proper authentication level for Azure AD RDP login. (Stack Overflow)
  4. Additionally, to enable Microsoft Entra (Azure AD) authentication prompt via RDP, add (or change) the following:enablerdsaadauth:i:1 This flag ensures the client uses the web-account sign‑in flow. Without it, authentication via Azure AD may fail. (Microsoft Learn)
  5. Save the file and double-click it to initiate RDP.
  6. At credential prompt, enter your username in full UPN format:username@domain.comYou will be prompted to fully sign in through a popup Microsoft login window and approve this new host; accept it. (RublonMicrosoft Learn)

🧪 Step 2 – (Optional) Add the Azure AD user to the Remote Desktop Users group

If you are not already part of the Remote Desktop Users group on the remote device, you may need to add your account or Azure AD group to it via local admin or MDM policy:

  • Using Command Prompt (as administrator):net localgroup "Remote Desktop Users" /add "AzureAD\username@domain.onmicrosoft.com"
  • Or using PowerShell:Add-LocalGroupMember -Group "Remote Desktop Users" -Member "AzureAD\username@domain.com" (Prajwal Desai)

🧭 Step 3 – (Optional) Edit the hosts file for name resolution over VPN

When your client cannot resolve NetBIOS names over a VPN Connection or Wi‑Fi, you can manually define them:

  1. On the remote client machine, open the hosts file in an elevated editor. Search for Notepad and Run as Administrator > File > Open to the following path:C:\Windows\System32\drivers\etc\hosts
  2. Add entries mapping internal device names to their IP addresses:192.168.1.119 Desktop‑Manager
  3. Save the file. This allows the host name used in your .rdp file to resolve correctly even if DNS or NetBIOS resolution fails.

🧩 Troubleshooting Scenarios & Notes

  • VPN client cannot ping or resolve NetBIOS name: may stem from missing NetBIOS over TCP/IP setting, wireless isolation, subnet differences, or routing rules. Ensure NetBIOS over TCP/IP is enabled in adapter IPv4 → Advanced → WINS tab, and review network isolation settings.
  • RDP fails using IP address: Azure AD joined devices require name (hostname or FQDN). IP‑only connections do not support the Azure AD authentication flow; using a host‑mapped name is required. (Microsoft LearnMicrosoft Learn)
  • NLA required: if NLA is enforced, Azure AD authentication may fail; ensure the remote device has NLA disabled if running into connection issues. (Microsoft Learnniallbrady.comMicrosoft Learn)

✅ Example .rdp snippet

Note: some of these are already added in, so only copy and paste the missing ones and change the relevant entries.

full address:s:Desktop‑Manager
enablecredsspsupport:i:0
authentication level:i:2
enablerdsaadauth:i:1

ℹ️ Why these settings matter

  • enablerdsaadauth:i:1 toggles the web‑account Azure AD login experience, prompting or allowing authentication through Entra ID. Without it, RDP will not negotiate Azure AD credentials correctly. (Microsoft Learn)
  • enablecredsspsupport:i:0 avoids CredSSP pitfalls that block Azure AD authentication, especially when Network Level Authentication isn’t compatible with Entra‑based tokens. (Stack Overflow)
  • authentication level:i:2 is the required setting for secure fallback when CredSSP is disabled. (Stack Overflow)

📌 Final Notes

  • Always ensure both client and remote satisfy Windows update and version prerequisites for Azure AD RDP support. (Microsoft Learn)
  • Use FQDN or hostname resolution rather than IP when targeting Entra‑joined devices, especially in VPN environments.
  • The hosts file edit can be a reliable workaround when DNS or NetBIOS resolution fails.

How to disable multi-factor authentication MS365

Some customers want multi-factor app access turned off.

For those that want it. You need to ensure that the users have disabled multi-factor authentication.

AND

From the 365 account go to Identity/Entra.

Select Overview

Choose Properties

Scroll to the bottom and look for a small print says “Manage Security Defaults”

Change the option to Disabled (Not recommended).

Accept past the warning.

The 365 accounts are now set to not enforce multifactor authentication for everyone. Unless it is enabled at the individual level.

Entra and Intune Research Notes

Entra and Intune Research Notes


What I need to know:

What do I gain security wise on MS365 premium and how do I make it happen?

Entra vs intune, and what does the oobe do instead of enrollment?

ALL 24H2

———————————————————————

T1- no network connection, default key.

Logged in as local user

Went to work or school account page, used main button, then main box

Logged in, then rebooted computer

Device is now enrolled in ENTRA, and after a few extra minutes, intune as well

DOES show up in defender portal

Does not allow you to log in to machine as company user

Edge does Sync auto- no login needed

Start menu is updated to company

Onedrive not auto logged in, but I signed in

Activation is still not active – relies on device key, not taking from MS365 license

So very clearly this method gives the company control, but it’s still your device, your users, and your

Windows licensing

RESULT :

This is likely the best option for BYOB Organizations

———————————————————————

T2- no network connection, default key

Went to join to work or school, main connect button, and then clicked option to join Entra bottom of that

box.

Initially login is still main user (local account)

Adding onedrive- first login still required PW/MFA

Left allow my org to manage this device checked

After this: edge has my account, no login required.

Word/office is logged in auto

Windows not showing active, including still running pro

Restart and sign in as Jim@Ultrex.com on login page

Signing in as Jim@Ultrex- start menu still personal mode

Rebooted- went back to local user as default

Logged in with company email again

Had to go to activation page, then click to log in again- now device shows proper on all activation settings

In Intone and Entra dashboards- these two machines (oobe and this) appear fully equal on that front

After a power down and turn back on, activation has popped out again and wants me to sign back in on

the activation page

Device IS on the defender premium page

Further reboots still default to local user

Logged in as Jim@Ultrex then deleted local user

Still logs in as now deleted user by default.

T oo Messy- Don’t like this option

RESULT :

If someone has an existing user, and doesn’t want to start over with a new user profile, they can join Entra

and Intune, and just leave their current user. When they want to log into the device as an email, they’ll

need to reload/lose the current user profile

———————————————————————

T3- Still on OOBE. Untouched post-install

Runs oobebypassnro and login with a local offline user

Plug machine into network post loading in

MS store- company portal

Log in, and leave “let company manage this device checked)

Device shows up in Entra Dashboard

Search box is company

Edge is logged in, no auth needed, bookmarks ext etc all there

Device now shows up in intune as well. BEFORE onedrive login (maybe 5 minutes)

Onedrive signs in, auth required

Still local user

Sign out

OOBEd again, going back to OOBE enviro

Can’t re-enroll the device, fails on OOBE so would need wiped and reloaded at this point

Based on later findings, I could have deleted from the panel for Entra and Intune, and Joined again.

Even without that- DID show up in Defender portal for security- doesn’t need email login for security

———————————————————————

T4- Logging in with MS365 account from main oobe page (installed pro in the first place)

Very first login, start menu is Ultrex tied (company logo search etc)

Initial one drive sign in needed no pw

Edge was pre logged into my account

Edge was signed into outlook.com from my very first opening. No MFA, No anything

RESULT :

No surprise- if you can do OOBE on pro in the first place, the world is an infinitely better place

———————————————————————

T8 – windows 24H2 Home installed fresh

Local user, 11 Home

Accounts/COnnect to work account, main option

Log in as me

Device is enrolled in Entra

Device shows up in intune

T ook offline, used 3v66t key and upgraded to pro

Gave back network conection

OOBE/Sysprep can’t generalize

Ran Normal OOBE

Set up for work or school, but can’t because the device is already enrolled

Can go into intune and Entra and delete the device from both dashboards, then click try again

no sooner than 60 seconds later

Onedrive automatic (No auth needed), edge sync auto, start menu company

Device shows in Intune and Entra perfectly

Defender not showing up? (see note below)

ACTIVATION STATUS: PERFECTION DAMMIT

This works!

RESULT :

If someone has a machine on home, you can join it to Entra and Intune, and then only upgrade

to pro if they need it for some other reason, and if they do need to upgrade to pro, you’ll have to

go delete the device from intune and entra dashbpoards. If you do that, then all works well

———————————————————————

T9

Windows 11 Home

DIDN’T join to company Entra or Intune before upgrading

Just local user, logged in, upgraded using 3v66t code (like a new purchase)

Gave back network connection

Can’t generalize

Just ran main sysprep

On next bootup, chose set up for work or school, works perfect, logs in as email, and is

company controlled

Signing in to onedrive is fully auto- no pw or MFA needed

Search box is company info

Edge is synced auto

Device shows in Intune and Entra perfectly

Defender not showing up (see note below)

ACTIVATION STATUS: PERFECTION DAMMIT

Note from MS:

Windows 11 Home devices that have been upgraded to one of the below supported editions

might require you to run the following command before onboarding:

DISM /online /Add-Capability /CapabilityName:Microsoft.Windows.Sense.Client~~~~

. For more information about edition upgrades and features, see Features)

Was able to confirm that in OS’s upgraded from home, you can run this command, it had a 50%

success rate across 4 identical VM’s. (literally clones of each other). Even on the ones where it

ran, it did not bring them into defender management. SO our new default is use Entra and

Intune if that’s what’s wanted- and you can leave it on HOME. But if you want pro, just freaking

install Pro in the first place. I’ve also now updated an ISO of 24H2 so it will ALWAYS ask for the

key, AND let you not put a key, and still select what version of windows to install clean (even if

one is saved in the EFI or BIOS). From now on, we use that one, please update your ventoy

soon as possible.

Final Notes:

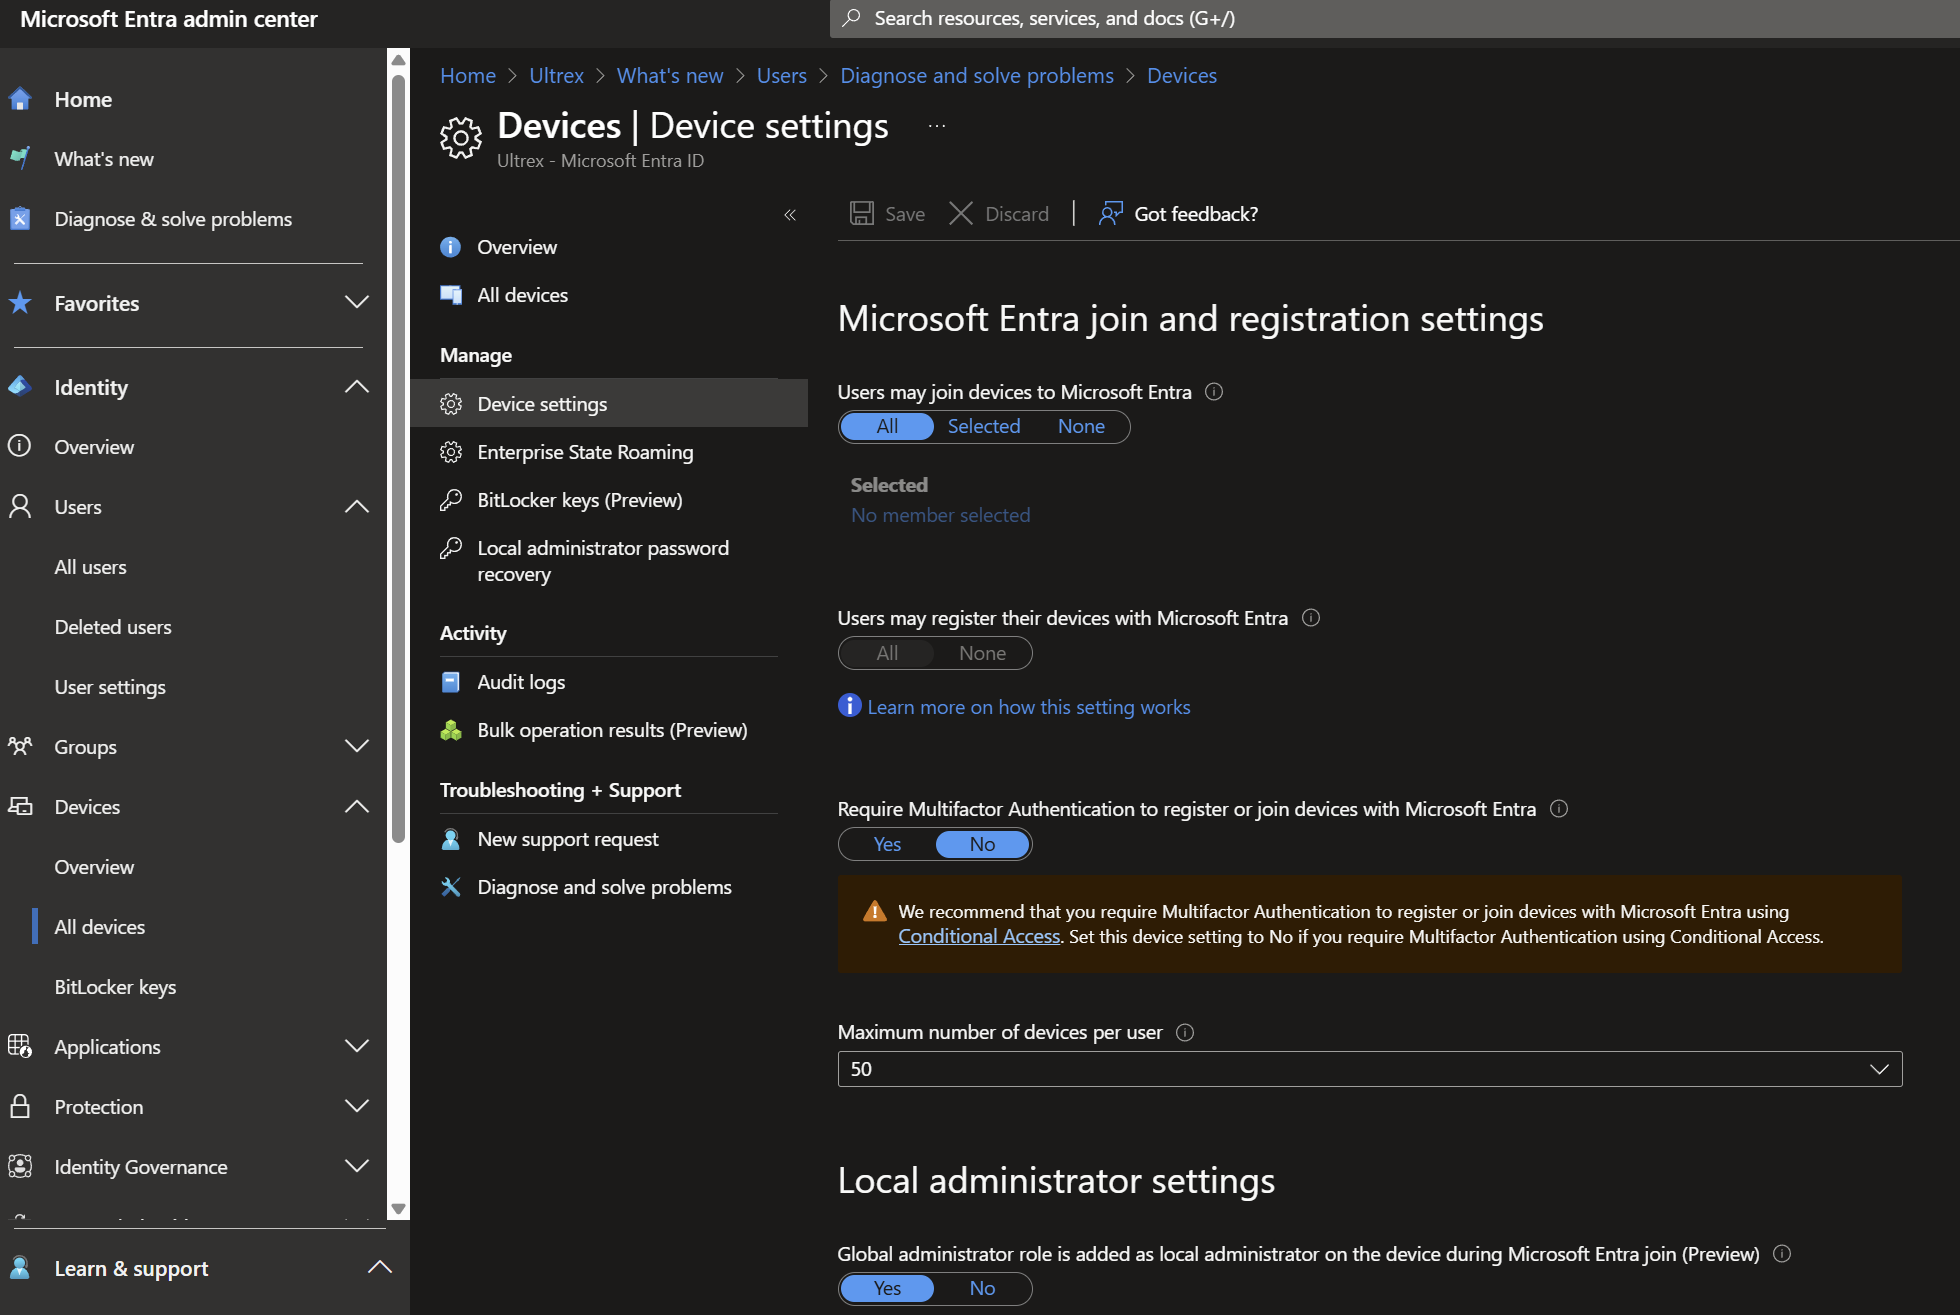
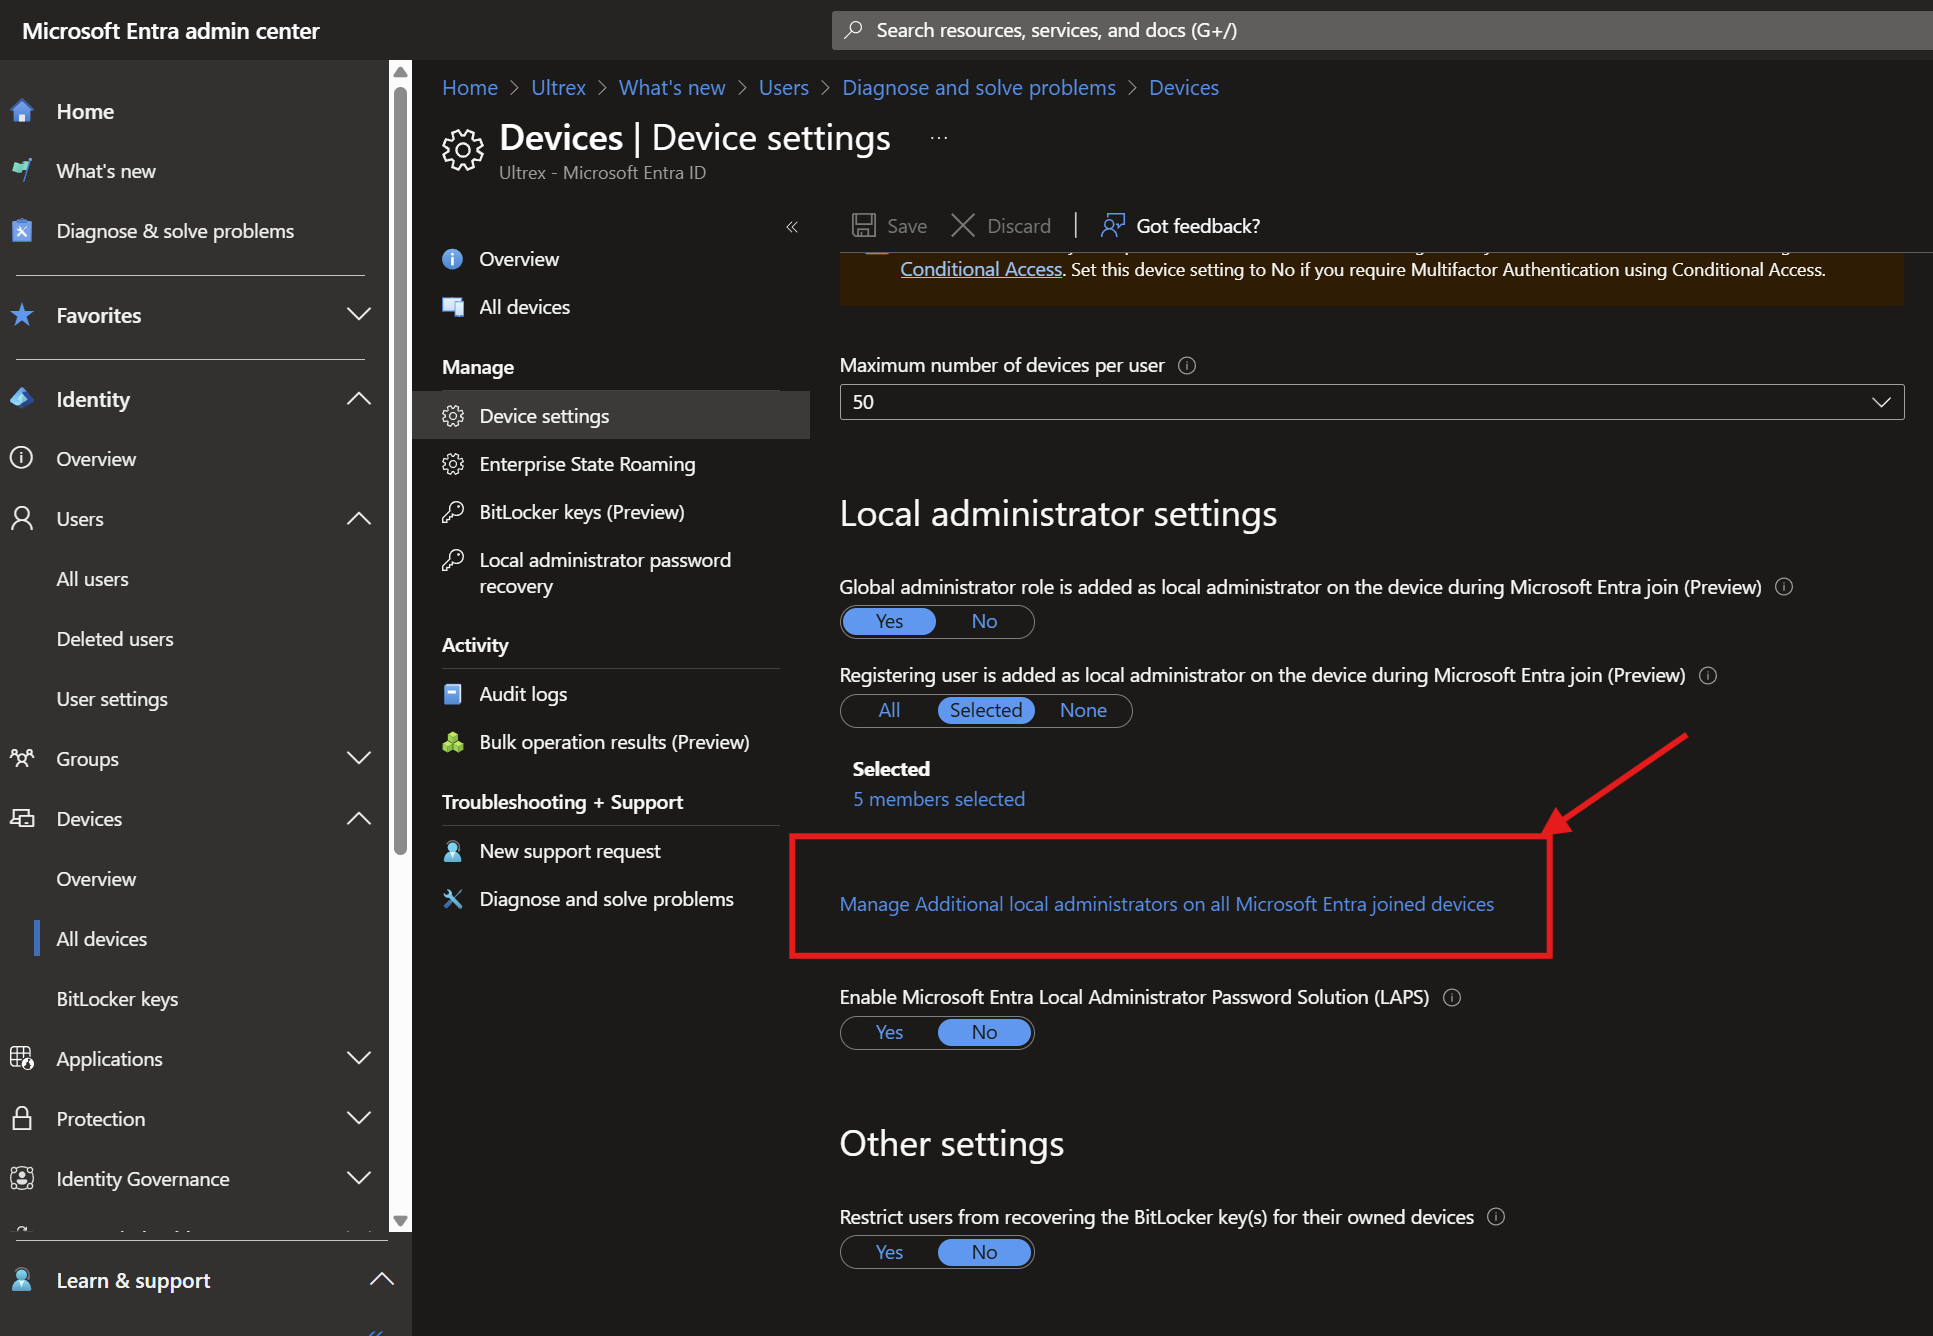
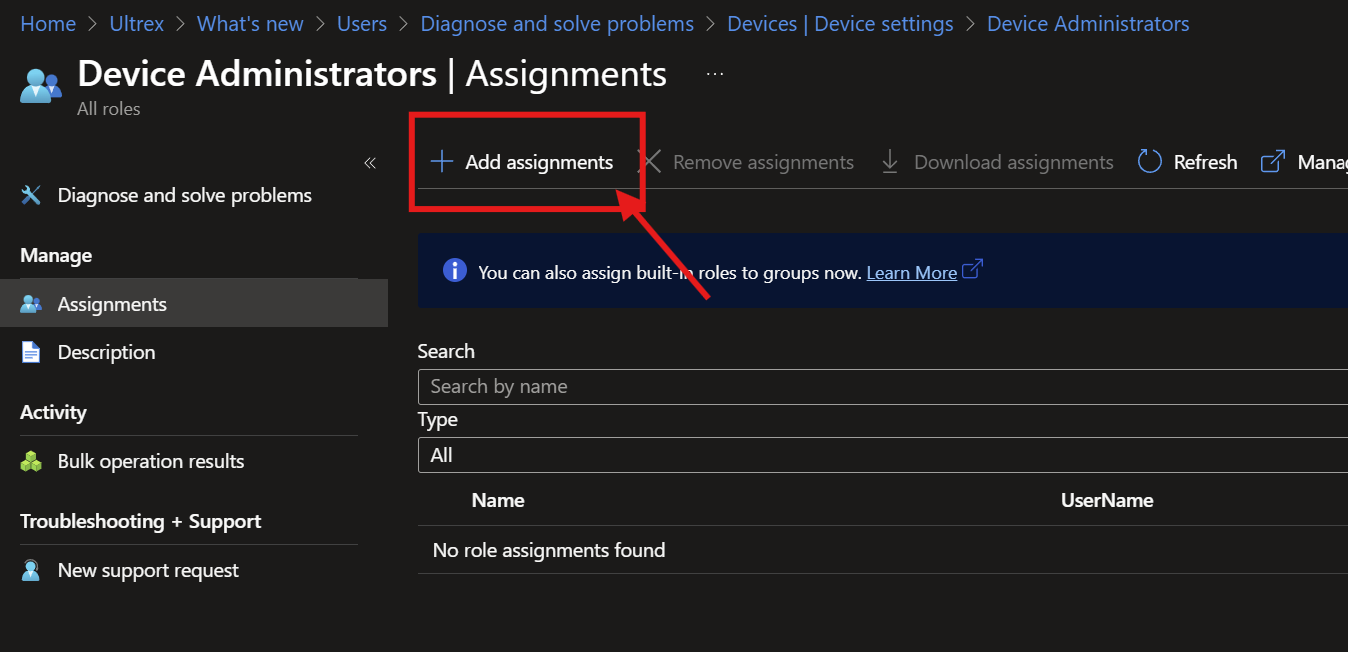
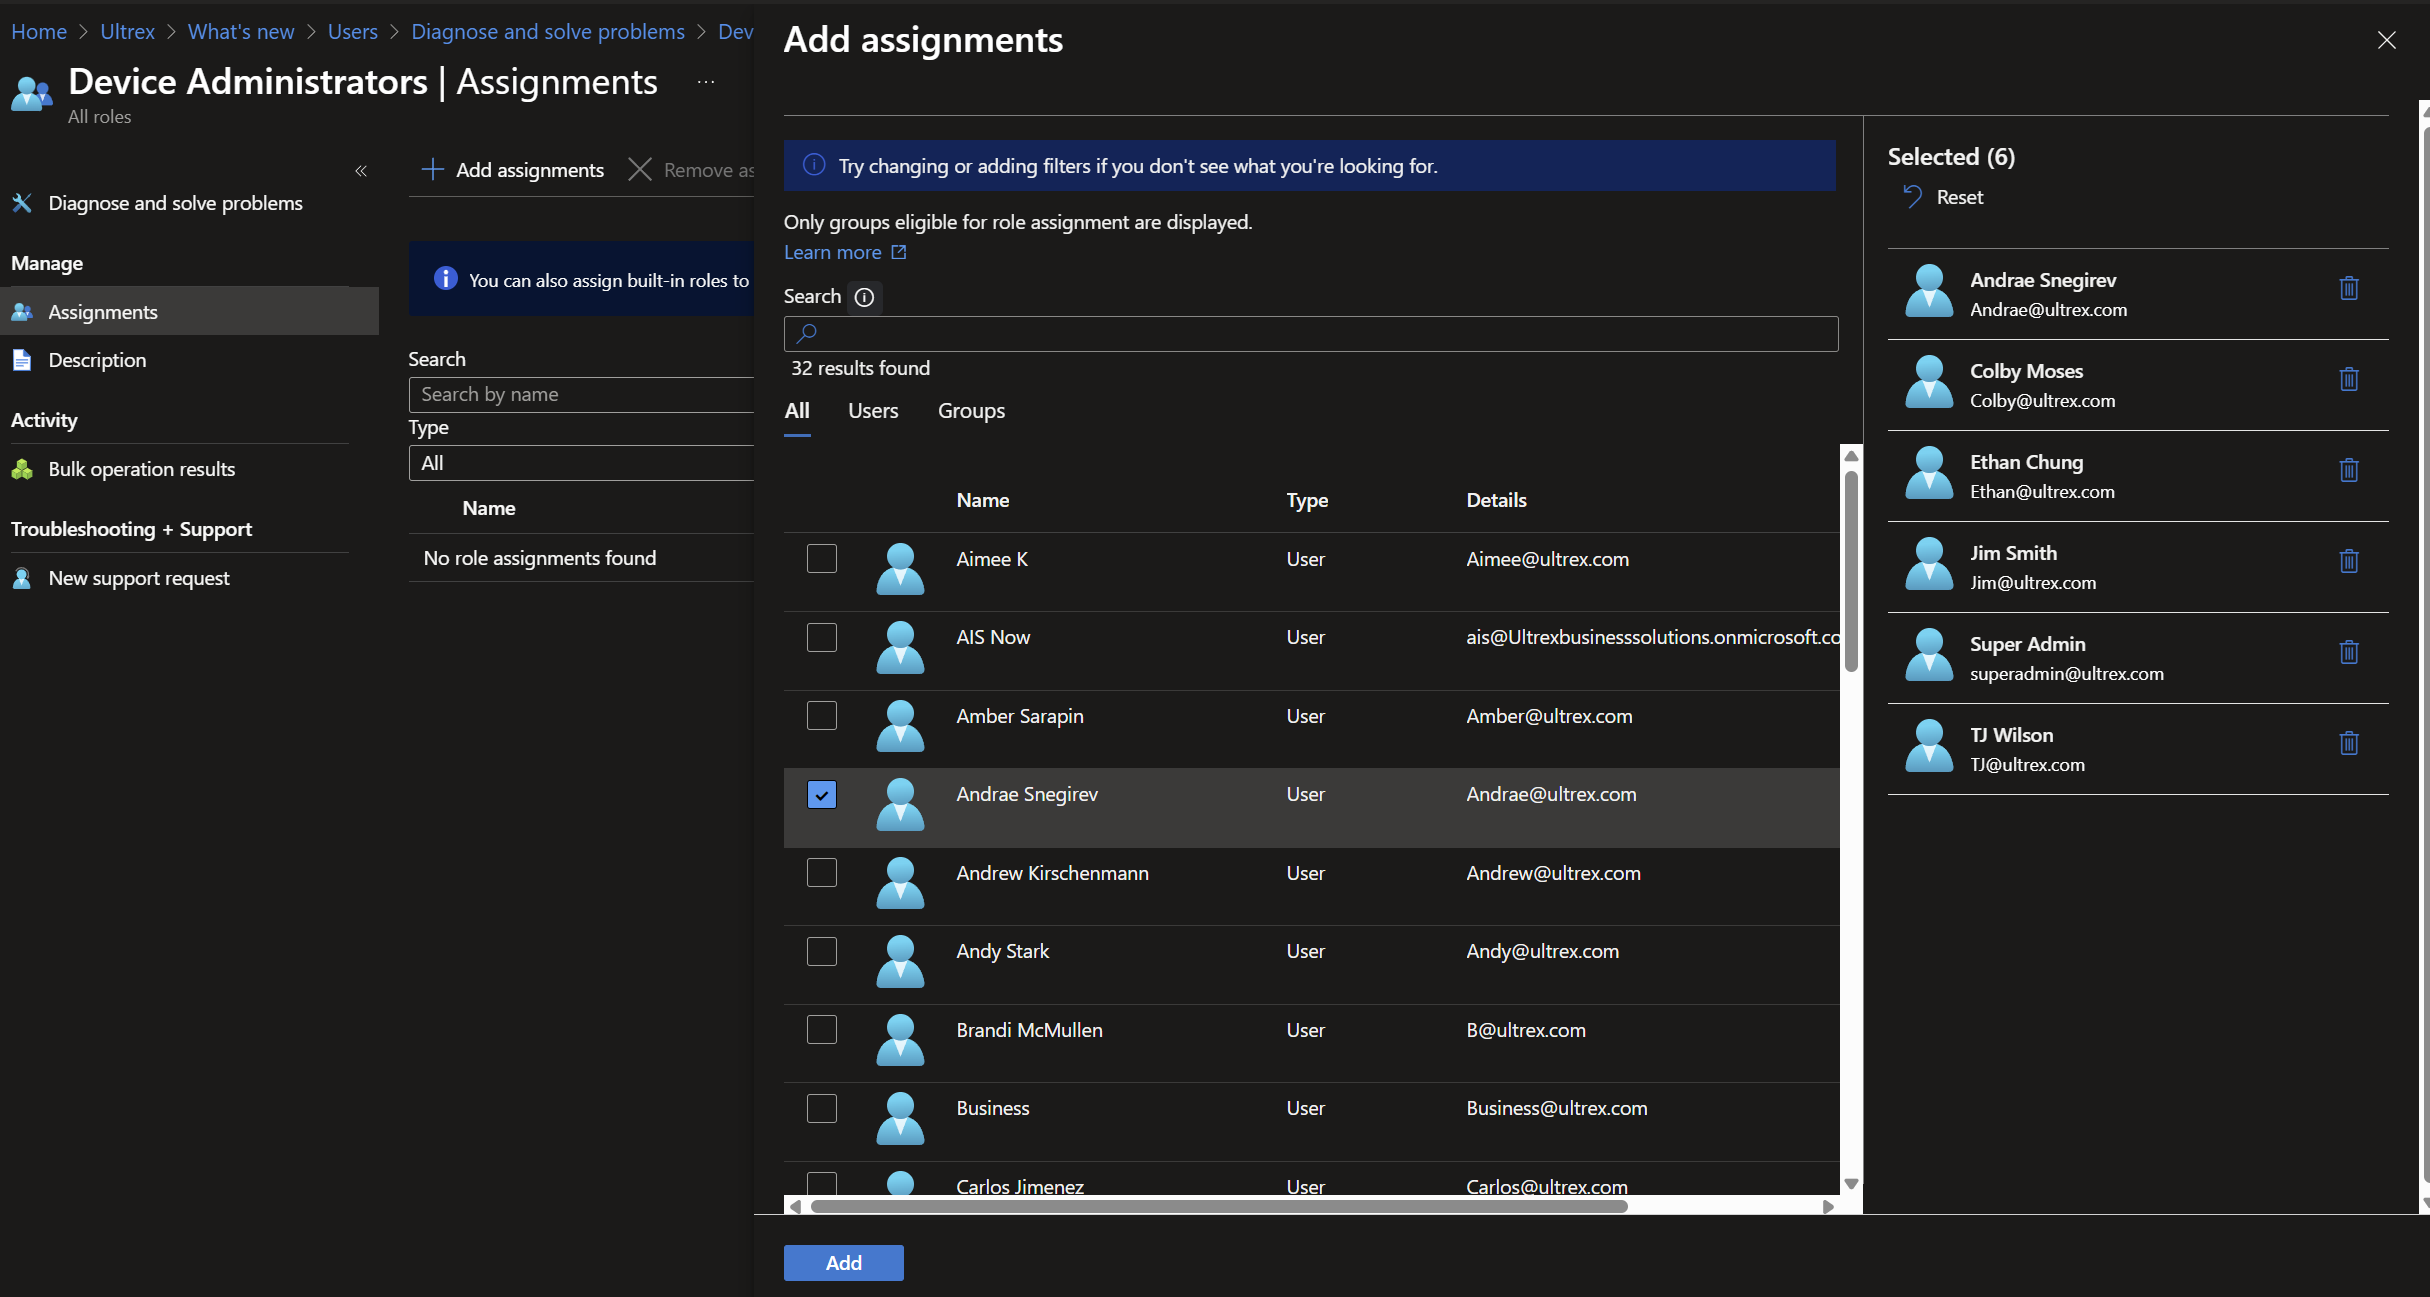
Company portal app is enrolling device in entra/intune

Entra and intune can both be done with windows home

Entra is access to stuff based on identity

Intune is device management

Defender portal is weak, and not worth much- but only comes on clean, initial W11 Pro installs.

Enrolling Devices in Entra with Local Admin Privileges

Enrolling Devices in Entra with Local Admin Privileges

Important Considerations 

  • Security: Ensure that only trusted users are added to the local administrators group to maintain device security. 
  • Audit: Regularly audit the membership of the local administrators group to ensure compliance with your organization’s policies. 
  • Documentation: Keep documentation of all changes made to user privileges for accountability and troubleshooting purposes.
    Common things that need Configured in Entra for Device Admin Privileges:
    1. You can specify if global admins are allowed to be local device admins AT ENROLLMENT ONLY.
    2. You can and should specify if permitted Entra users are added as local admin AT ENROLLMENT ONLY. Add selected users.
    3. You can and should also add those same users from previous step the the next line – “Manage Additional local administrators on all Microsoft Entra joined devices.” That’s the key one to achieve the goal of key users having device admin privileges whether or not they have been signed into the device already.

Entra Admin:

To enroll a user as a local device admin upon device enrollment in Microsoft Entra (formerly Azure AD), follow these steps:

1.    Sign in to the Microsoft Entra Admin Center:

a.    Go to the Microsoft Entra Admin Center.

b.    Sign in with an account that has at least the Privileged Role Administrator role.

2.    Navigate to Device Settings:

a.    In the left-hand menu, select Identity Devices All devices > Device settings.

3.    Manage Additional Local Administrators:

a.    Under Manage Additional local administrators on all Microsoft Entra joined devices, click Add assignments.

b.    Select the users or groups you want to add as local administrators and click Add.

c. Tests that verified this (based on CFM #3292)

    I enrolled the laptop with an admin user (we’ll call this Admin 1; we’ll use ours for this often).

    Signed into the laptop as a separate profile from Admin user with another account (Admin 2), which also had full admin permissions on the device according to Entra.

    Signed into Non-Admin 1’s account which is NOT permitted admin rights over any PC, and could not perform admin level tasks.

    From Non-Admin 1’s profile, tried installing a program and permitted installation using Admin 2’s authority successfully.

   This one’s the kicker – without having signed into the PC with Admin 3’s account, but having given it local admin permissions for all devices through Entra as above without being a full Microsoft Global Admin like Ultrex’s user, I was able to permit removal of that same program from Non-Admin 1’s profile successfully.

4.    Use Intune for More Granular Control:

a.    If you need more granular control, you can use Intune to manage local admin rights.

b.    Sign in to the Intune Admin Center.

c.     Go to Endpoint Security > Account protection.

d.    Click Create Policy and select Platform: Windows 10 and later and Profile: Local user group membership.

e.    Configure the policy to add the desired users or groups to the local administrators group.

5.    Assign the Policy:

a.    Assign the policy to the relevant devices or user groups.

Important Notes for Assigning Policies:

In Microsoft Intune, policies are assigned to groups rather than directly to individual users or devices. However, you can achieve per-user or per-device targeting by creating a group that contains only the specific user or device you wish to target.

🎯 Assigning a Policy to a Single User or Device

  1. Create a Group for the User or Device:
    • For a User:
      • Navigate to the Microsoft Entra admin center.
      • Go to Groups > New group.
      • Choose Security as the group type.
      • Provide a name (e.g., “Single User Group”) and description.
      • Add the specific user to this group.
    • For a Device:
      • Similarly, create a new security group.
      • Add the specific device to this group.
  2. Assign the Policy to the Group:
    • In the Intune admin center, navigate to the policy you wish to assign.
    • Go to the Assignments section and click “Edit“.
    • Under Included groups, add the group you created.
    • Save the changes.

By creating a group with only the desired user or device, the policy effectively targets just that entity.

🔍 Additional Considerations

  • User vs. Device Groups:
    • Assign policies to user groups when settings should follow the user across multiple devices.
    • Assign to device groups when settings should apply regardless of who is using the device.
  • Using Filters:
  • Policy Sets:
    • For deploying multiple policies and applications together, consider creating a Policy Set. This groups various configurations into a single assignment for streamlined deployment.

Command Line

Check Users currently listed in the local admin group

Steps: 

  1. Open Command Prompt as Administrator: 
  1. Right-click on the Start menu and select “Command Prompt (Admin)” or “Windows PowerShell (Admin)”. 
  1. Run the Command: 
  1. Enter the following command
net localgroup administrators

Remove AzureAD User from Admin Group

Steps: 

  1. Open Command Prompt as Administrator: 
  1. Right-click on the Start menu and select “Command Prompt (Admin)” or “Windows PowerShell (Admin)”. 
  1. Run the Command: 
  1. Enter the following command, replacing user@domain.com with the actual email address of the AzureAD user: 
net localgroup administrators /delete "AzureAD\user@domain.com" 
  1. Restart the Device: 
  1. Restart the device to apply the changes. 

Add AzureAD User to Admin Group Through Command Line 

Steps: 

  1. Open Command Prompt as Administrator: 
  1. Right-click on the Start menu and select “Command Prompt (Admin)” or “Windows PowerShell (Admin)”. 
  1. Run the Command: 
  1. Enter the following command, replacing user@domain.com with the actual email address of the AzureAD user: 
net localgroup administrators /add "AzureAD\user@domain.com" 
  1. Restart the Device: 
  1. Restart the device to apply the changes. 

Graphical Interface:

To remove an Azure AD user from the local administrators group on a Windows machine, follow these steps:

1.    Open Computer Management:

a.    Press Windows + X and select Computer Management.

b.    Alternatively, you can press Windows + R, type compmgmt.msc, and press Enter.

2.    Navigate to Local Users and Groups:

a.    In the Computer Management window, expand Local Users and Groups.

b.    Click on Groups.

3.    Open Administrators Group:

a.    Double-click on Administrators to open the group properties.

4.    Remove the Azure AD User:

a.    In the Administrators Properties window, you will see a list of members.

b.    Select the Azure AD user you want to remove and click Remove.

c.     Confirm the removal if prompted.

5.    Restart the Computer (if necessary):

a.    Some changes might require a restart to take effect

Device Cap Reached

Occasionally, you will reach your device cap when entra joining devices. There are TWO places to check this- intune.microsoft.com and entra.microsoft.com.

Intune will tell you device limit per user is 5 by default, and you can modify it to 15. theres also options for DEM accounts. I tried with no success.

The alternative- Entra settings allow you to change the device cap to unlimited. Yeehaw

Use Entra

© 2026 Ultrex Staff

Theme by Anders NorenUp ↑